
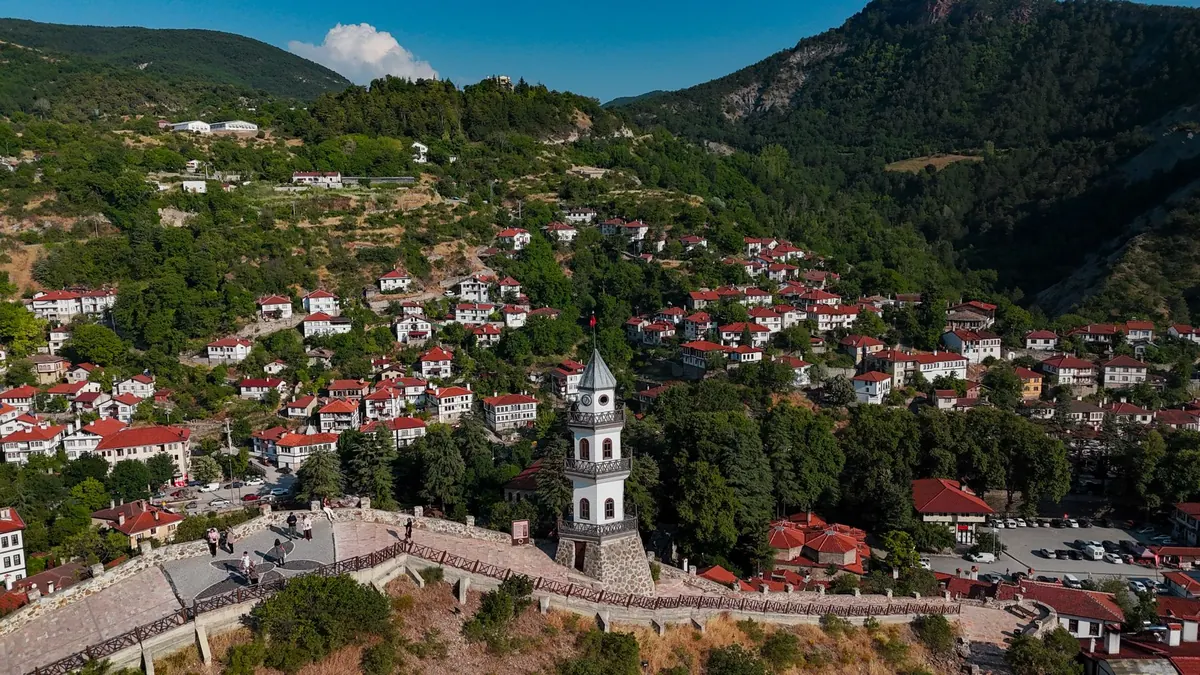
Every Italian hill town is a set of decisions about height. The parish church takes the saddle, the watchtower holds the last defensible ridge, and the houses stack below in terraces that catch the evening light. Walk one of these towns with a compass and a notebook and the views stop looking accidental. They were chosen, defended and paid for. Mapping them means recovering that reasoning and turning it into something a visitor can follow on foot, with a paper map that answers the only question that matters at the top of a staircase: which way now?
Start With the Ground, Not the View
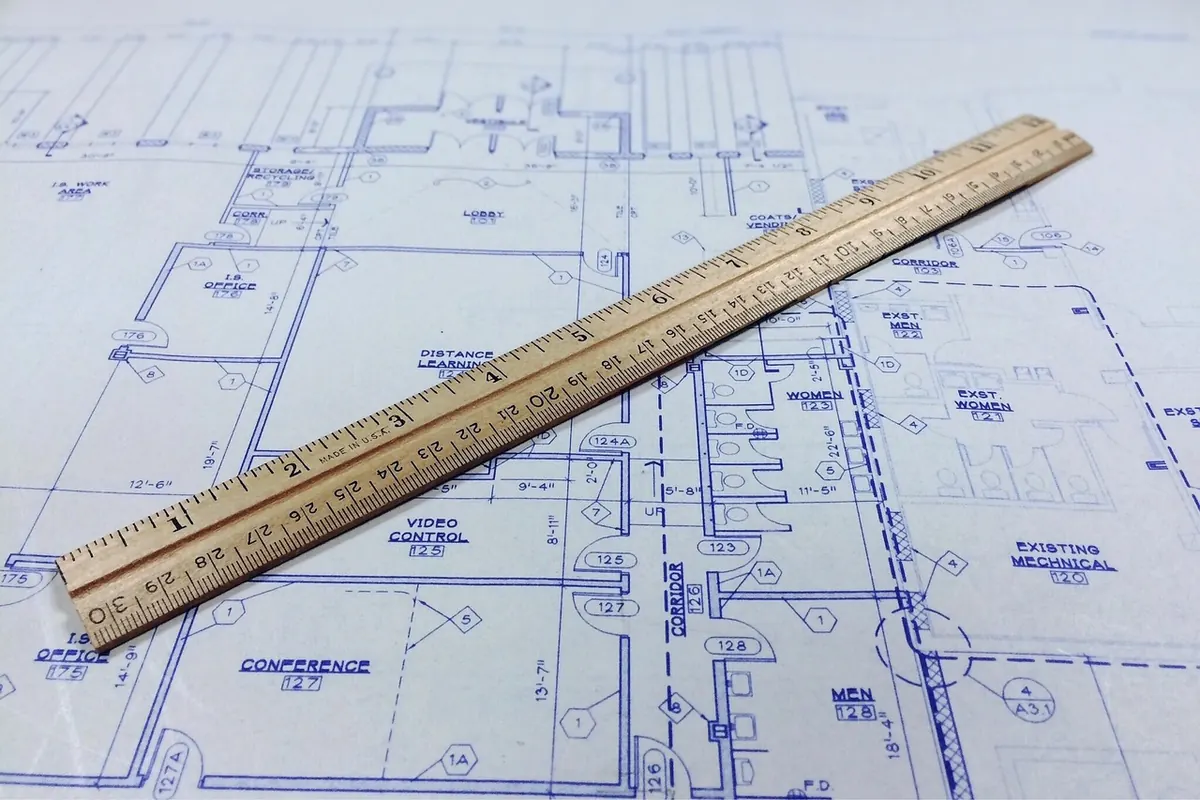
A tower view is only as good as the map that leads to it. Begin with a reliable base: the regional technical map (the Carta Tecnica Regionale most Italian regions publish) at 1:2,000 or 1:5,000, supplemented by cadastral outlines for building footprints. Print it. Screens are useless on a staircase in full sun.
Then walk the town with the printout and a pencil, marking what the base map does not say. Flight counts on long stairways. Whether a vicolo ends in a private gate or a public terrace. Which alley is shaded at noon in July. Where a handrail gives out. These small facts decide whether a walking guide works or merely looks tidy. Add them in a single colour so your fieldwork stays legible against the printed linework.
Keep the contour interval honest and visible. In a town that climbs eighty metres over three hundred, a five-metre interval tells a walker far more than any arrow. Where contours vanish under buildings, sketch the terrace edges and retaining walls by hand; those walls are the real topography of a hill town.
What Makes a Viewpoint Worth Mapping
Not every gap between houses deserves a symbol. A viewpoint earns its place on the map when it passes a short test:
- Public access. No gate, no bell to ring, no bar that opens at nine.
- Room to stand. Space for two or three people to turn around without stepping into traffic.
- A safe foreground. A parapet, railing or at least a wide verge between the viewer and the drop.
- An open arc. Ninety degrees or more of clear horizon, or a narrower gap aimed at something specific.
- An anchor. At least one landmark you can name, so the view can be described in words as well as drawn.
- Somewhere to linger. Shade, a bench, a fountain, a wall at sitting height.
Grade what you keep. Three levels are enough: a terrace where you would send anyone, a gap worth a detour if you are already passing, and a glimpse that belongs in the text rather than on the map.
Sightlines in the Field
Stand at each viewpoint and take bearings to three identifiable landmarks, spread as widely as the view allows. Write the azimuth, the name of the target, and the height of your eye above the ground. The last figure matters more than it seems: a bearing taken from a child's height or from a bench is a different bearing.
Bearings That Survive the Walk Home
Use a baseplate compass and a clinometer, or a phone app that you have checked against a real compass before trusting it. Record the back-bearing too; when you later sketch from the tower, that reversed figure is what tells you the terrace below is the one you measured. Note the date and the hour. Haze, low sun and summer foliage all change what is visible, and a guide that promises a mountain on a hazy October afternoon will annoy people.
A viewpoint is not a place. It is a relationship between a place and everything it can see.
Where buildings block the lower half of a sightline, note the obstruction. A rooftop that hides the valley floor still leaves the far ridge, and that distinction belongs in your notes, because it decides whether the view is worth climbing for.
Building a Landmark Inventory
Hill towns hand you a ready-made set of reference points: the campanile, the castle keep, a second church tower on the opposite ridge, the concrete water tank above the last houses, a line of cypresses on a spur. Map them as a numbered list with a matching symbol, and give each one the same four attributes: name as locals say it, type, approximate distance from the town centre, and whether the sightline is reciprocal.
Reciprocity is the useful part. If you can see the tower on the next hill from your terrace, and the walker standing there can see your tower, then the two belong to a single axis. Draw that axis once and you have given the map a spine — the kind of quiet structure that makes a walking guide feel authored rather than assembled.
Add modern landmarks without apology. A water tower or a radio mast is ugly and unmistakable, which makes it excellent cartography. Traditionalists will forgive you the moment they use one to fix their position.
Turning Sightlines Into a Route
Order the viewpoints by elevation and let the geometry write the itinerary. Climb once, early, while legs are fresh; spend the middle of the walk traversing; finish downhill through the lower lanes where the cafés are. Never make a walker descend and re-ascend the same slope for a single gap in a wall.
Be conservative with time. A relaxed walker covers roughly ten to fifteen minutes per hundred metres of ascent, before stopping time, and hill-town staircases are slower than open ground. Add the minutes you actually spent standing at each viewpoint; that is what people came for.
Then annotate. Mark the steep flight near the belvedere, the fountain halfway, the arch where the route is easy to miss. A guide that only shows the line is a diagram; a guide that shows the difficulties is a companion.
Drawing It So It Reads
Two products, not one. An orientation map at 1:5,000 showing the whole route, and a detail panel for each major terrace at 1:1,000 or 1:2,000 with its view cone drawn as a translucent wedge, dashed at the edges and labelled with the landmarks it contains. Keep the cones from overlapping where you can; where they must, drop the fill and keep the outlines.
Set a strict hierarchy of line weights — buildings lightest, contours middle, route boldest — and hold it on every panel. One typeface in three sizes will do more for legibility than any amount of decoration. Label place names along the feature, not across it.
Before You Publish: A Short Checklist
Walk the route once more with the finished map in hand, at the hour you expect most readers to use it. Confirm that every viewpoint is still open, every gate still unlocked, every stair still passable. Check that symbols fall on the correct side of a wall. Ask someone who does not know the town to follow the map alone and watch where they hesitate; those hesitations are your corrections.
Finally, note on the map itself that access depends on private property and local rules, that terraces have edges, and that weather changes the ground underfoot. Keep the tone plain. A good tower map does not sell the view. It puts a person in the right place, at the right parapet, facing the right ridge — and then gets out of the way.
Photo: sohaib Mohammed / Pexels